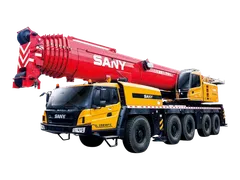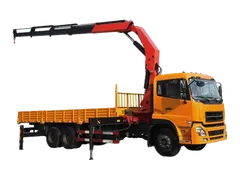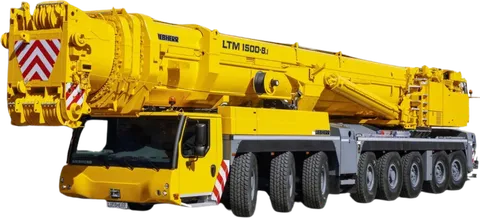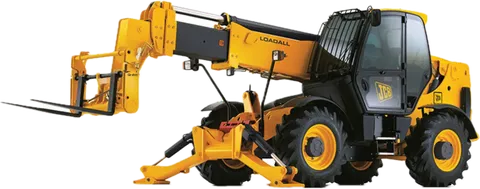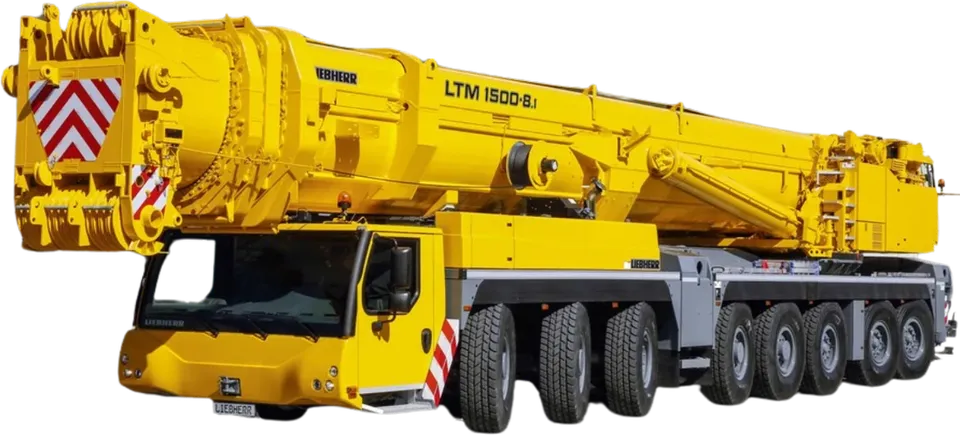
This crane lift plan checklist is for a site manager or engineer who has a crane booked, or is about to book one. A lift is often delayed or stopped because one item was left to "someone else": the ground, the papers, the signaller. Work through the three stages below and write a name next to every line.
What is a lift plan and who writes it?
A lift plan is a written plan for one lift or one series of similar lifts. It sets out:
- the load;
- the crane and its configuration;
- the rigging;
- the lift area;
- who does what;
- what happens if something goes wrong.
The more complex or risky the lift, the more detail the plan needs. A light, simple lift may need a short plan. A heavy lift near people, buildings or live services needs a full one, prepared by someone competent. Never skip the plan, even a short one.
Who writes and approves the plan differs by project, supplier and client. Sometimes the crane supplier prepares it. Sometimes the contractor does, and the client or site owner approves it. Ask who is responsible, in writing, before you book.
Before you book: load, radius, height and site facts
The lift decides the crane. Collect these facts first and give them to the supplier.
- Load weight. Use a weighed or documented figure, not a guess. Add the weight of the rigging and any spreader beam or lifting frame hanging with the load. The chart notes say whether the hook block and ropes are already deducted, so the supplier confirms it.
- Centre of gravity, where known. An uneven load changes how it must be rigged.
- Radius at the pick and at the set. Radius is the horizontal distance from the crane's centre of rotation to the load. Check each lift at its own radius and weight: the worst case decides the crane. Measure carefully, because the boom bends under load and the real radius can be a little larger than a drawing shows.
- Hook height needed to clear the structure at the set point.
- Boom length and the chart configuration the supplier plans to use.
- Site facts: access route, working space, nearby structures and the lift duration.
Capacity falls as radius grows, so a crane that looks big enough on paper may not lift your load at your radius. See how to read a crane load chart, and how to choose crane capacity for measuring each figure.
Tip. Send the supplier the weight, the pick radius and the set radius as three separate numbers. "A 20-tonne crane" is not a lift requirement.
The crane and the crew: who and what the supplier brings
Before the crane leaves its yard, ask the supplier for these items.
- the crane's current inspection certificate and its expiry date;
- the operator's competence documents;
- the rigger's competence documents, if the supplier provides the rigging crew;
- the chart configuration for your radius;
- confirmation of who writes the lift plan.
Check that the certificate has not expired and covers the crane that will arrive. See what to check on lifting equipment inspection certificates and how to check an operator's competence.
Common mistake: collecting papers only when the crane reaches the gate. If something is missing, the crane waits and the lift may be refused. Ask a few days earlier.
Ground, access and the lift area
Ground is the part of a lift most often assumed. Settle it before positioning:
- Ground strength. Assess the ground under the crane and its outriggers for the crane's weight plus the load. The supplier can give the outrigger load, and the ground must carry it without settling. Fresh fill, loose sand, excavation edges and soft areas need particular care. Ground that looks firm is not proof.
- Mats or spreader pads. If the ground needs help, agree who supplies them and what size.
- Underground services. Check for pipes, cables, drains and basements under the crane position and its route in.
- Access. Confirm the crane can reach the position: gate width, turning space and overhead clearance.
- Overhead obstructions and power lines. Treat every line as live. The safe distance is set by the utility and the site rules. Ask for it. Do not estimate it.
Mark an exclusion zone with barriers or tape so that nobody walks under or near the load path. See banksmen and exclusion zones.
Rigging, communication and weather limits
Rigging. It must suit the load's weight, shape and lift points, and no accessory is loaded past its marked limit. See rigging basics: slings, shackles and working load limits.
Communication. Agree one signaller and one set of signals or one radio channel. The operator should take instructions from that person only. The one exception is a stop signal: anyone may give it, and the operator obeys at once.
Weather. Agree stop conditions before the day. Wind limits come from the manufacturer's data for that crane, and a load with a large surface area may need a lower limit. Ask the supplier for the figure and how wind will be measured. In Saudi Arabia heat and dust may also affect people and equipment, so agree breaks, water and what happens if visibility drops. Requirements differ by project, site owner and insurer: confirm them before mobilising.
On the day: the pre-lift briefing and stop conditions
Before the first lift, hold a short briefing with everyone involved. Cover:
- What is being lifted, its weight and where it goes.
- The route of the load and the exclusion zone.
- Who is the signaller and what the signals are.
- The wind and weather limits.
- Who has the authority to stop the lift.
Then confirm the setup matches the plan: crane position, outriggers extended and set on the mats as the chart requires, and the crane level.
Stop the lift if:
- the ground moves or the crane settles;
- the weather passes the agreed limit;
- someone enters the exclusion zone;
- the signaller or radio link is lost;
- the crane's load moment indicator alarms or the operator asks to stop;
- the load, rigging or setup differs from the plan.
If the plan no longer matches the site, stop, set any suspended load down if it is safe to do so, and update the plan. Never override a crane's safety alarms to finish a lift.
Checklist table: item, who owns it, done
Copy this table into your site documents. The owners shown are typical. Change them to match your contract, and never leave one blank.
| Stage | Item | Typical owner | Done |
|---|---|---|---|
| Before booking | Who writes and approves the lift plan is agreed in writing. | Customer and supplier | |
| Before booking | Load weight and centre of gravity confirmed. | Customer | |
| Before booking | Radius at pick and at set, hook height. | Customer | |
| Before booking | Crane size, boom length and chart configuration. | Supplier | |
| Before lift day | Inspection certificate and expiry date received. | Supplier | |
| Before lift day | Operator and rigger competence documents received. | Supplier | |
| Before lift day | Ground assessed for crane plus load; mats agreed. | Site | |
| Before lift day | Underground services checked. | Site | |
| Before lift day | Overhead lines and safe distance confirmed with the utility. | Site | |
| Before lift day | Access route and crane position confirmed. | Site and supplier | |
| Before lift day | Rigging suits the load; every accessory's marked limit checked. | Supplier or rigging crew | |
| Before lift day | Weather stop limits agreed. | Customer and supplier | |
| Before lift day | Signaller and signals or radio channel named. | Site | |
| At the lift | Exclusion zone marked and kept clear. | Site | |
| At the lift | Pre-lift briefing held; stop authority named. | Site | |
| At the lift | Setup matches the plan. | Supplier and site | |
| At the lift | Stop conditions understood by everyone. | Site |
How to do this on Maedah
When you post a crane request, enter the machine, the city and the site on the map, and the dates. Put the load weight, pick and set radius, and hook height in the request details. Add the requirements you need, such as a driver, insurance, TÜV inspection or Urgent.
Sealed quotes line up side by side. Compare what each includes, then ask each supplier in chat for the certificate, operator papers and who writes the plan. You can also browse cranes and boom trucks before you post.